Platracer
Platracer is my old ray tracer I’ve started writing in 1999. Yes, that’s the previous century. Previous millenium even. It is entirely written in C++, not even a bit of assembly. I just started to learn C++ at that time, so obviously, the code base turned out to be a complete mess. Sorry I’m not releasing any code of it, but it is way too ugly. It really is. Yet, over the years, I’ve been working on it, and I’ve got some nice results from it. Now days, the code base is entirely abandoned in favour for my new ray tracer: LiAR.
RTRT demo
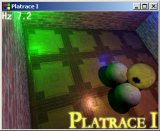 Real-Time Ray Tracing. Back in the glory days of Platracer it was still quite an achievment to get a ray tracer rendering real-time. Well, it’s still a challenge today, but faster hardware is giving a hand. I’ve tweaked platracer a bit and here’s the result: an RTRT demo of platracer. It’s a fly-by of some spheres in a room and three dynamic point lights. Don’t try to control it, it’s not interactive at all.
download: platracer_demo.zip (Win32)
Stills
Here are some stills rendered by a high quality version of Platracer (click on the thumbnails to enlarge).
The beginning (1999):
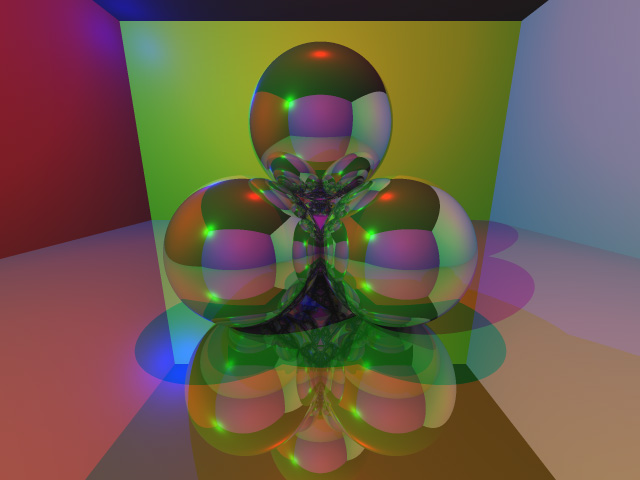 I started coding this ray tracer a long ago, while we still had our 486! This is one of the very first renders with the ray tracer. It was one of the last efforts of the 486. Most of the scene elements already are present: the room, the spheres, the three colored lights.
Athlon power (2001):
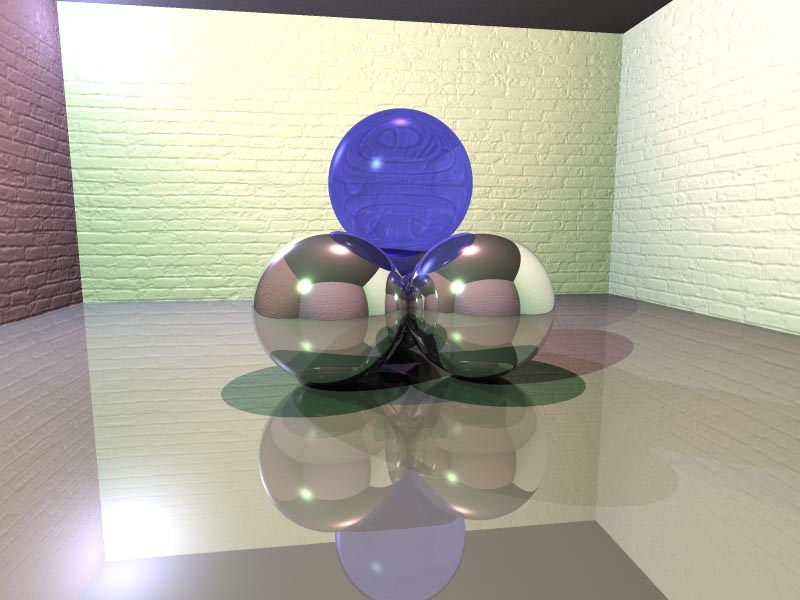
 Things changed when the new PC arrived in: raw 1GHz Athlon power! (well, it was pretty raw in 2001 ;) Three reflecting spheres with a transparent and refracting blue sphere on top. There are three colored lights: a red one above the spheres, a blue light in upperleft corner in the front, and the green is in the upper left corner in the back. You can see them on the reflecting spheres. The walls are bumpmapped, but that’s rather hard to see. Resolution is 800×600, 16x supersampling.
 Same setup as above, but now you only see the lighting. All textures, reflections and transparency are disabled. You can see the shadows and the specular lighting. The colors of the walls are caused by the lights, their real color is white. Remarkable is how good you can see the bricks, only by the bumpmapped lighting!
 This time, reflections and transparency are enabled.
 Textures are enabled again, but there’s no bumpmapping on this one. It’s hard to tell the difference, but you can see the walls look somehow more flat as expected.
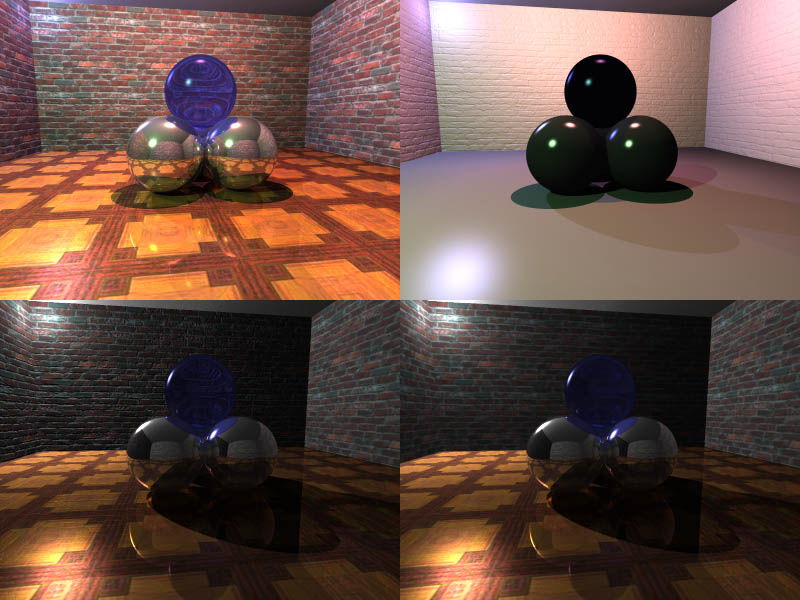 The Image Of The Day entry on flipCode. In the lower pictures, you can clearly see the effect of bumpmapping. On flipcode, the description of the images is wrong. It should read:
The Humble Pics:
- Upper left: The full scene with colored lights, textures, reflections, transparency, refraction and bumpmapping enabled.
- Upper right: The lighting of the scene. All textures, reflection had been disabled; transparency for shadow rays are still enabled, but not for viewinig rays. Although the floor and walls have in se the same color, the floor looks much darker; this is because the floor uses primarily specular lighting and the walls use diffuse lighting.
- Lower left: Only one white light in the frontal upper left corner to show the bumpmapping.
- Lower right: Same, but without the bumpmapping.
Snell, Fresnel and Beer … (2004)
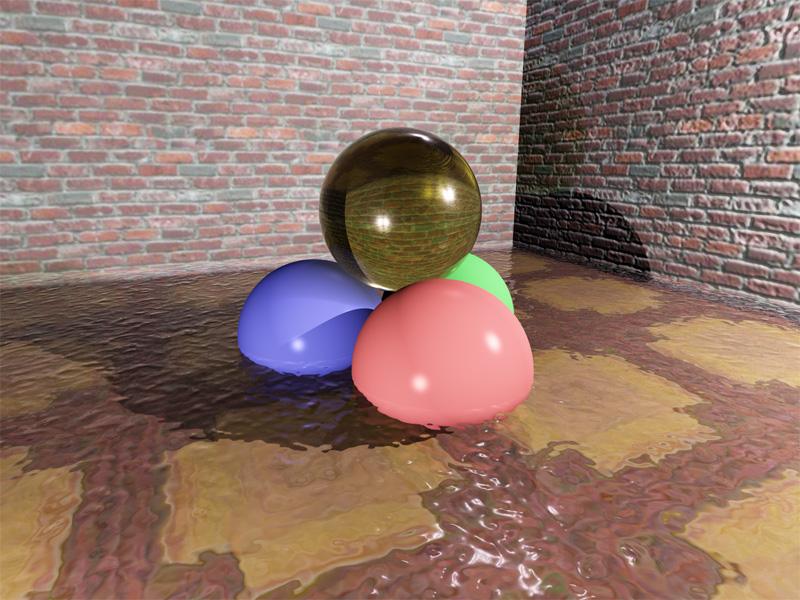 Three years passed since the Image Of The Day. A lot of things happened. flipCode died and revived (and then later died again, for good) … It was during this short period of revival that Jacco Bikker aka The Phantom started his raytracing column. An excellent opportunity to get back on track myself. So, I wrote a little tutorial and started coding again. The result is displayed above. What we see here are the recurring spheres, walls and floor. But the noteworthy items are the transparent sphere and the (bumpmapped) water. What’s so special about these is told by the following three gentlemen:
- Mr. Snell (aka Mr. Snellius): both the sphere and the water are not only transparent, but the also have an index of refraction different than one (n = 1.5 and n = 1.33 respective). Snell says rays of light are hence refracted. That’s done here (well, at least for viewing rays, shadow rays don’t obey Snell’s law). You can see the lens effect in the sphere and the distorted floor through the water. This is also what my tutorial “Reflections and Refraction in Raytracing” is all about.
- Mr. Fresnel: in most ray tracers, reflection and transmission coefficients (reflectance and transmittance) are given by hand. And usually, that works fine. However, Fresnel says that for reflections and refractions on interfaces between two materials with different indicies of refraction, these coefficients can be calculated. And that’s exactly what I’ve done for the glass sphere and the water (though I’ve used a simplified equation, more on that later). In particular, notice the reflections on the water and on the sphere.
- Mr. Beer: again, in most ray tracers, the color of transparent objects is totally determined by the surface material. In case of the sphere, rays of light would be tinted twice: when it crosses the surface to get in, and again when it gets out. Of course, that’s not right. It’s not the surface that determinens the sphere’s color, but the material inside the sphere. This is also true for the water: it’s not the water surface that tints the light, but the water itself. And that’s exactly what Beer says. Beer will change the light intensity based on the travel distance through the material. That’s only obvious: if you travel through a thick plate of yellow glass, light will be tinted more than through a thin plate. So, I’ve implemented that as well: if light travels through a medium, it’s intensity is affected by Beer’s law. The surface of a material can still affect light that is transmitted (e.g. for a colored coat layer), but in this scene this surface color is set to white.
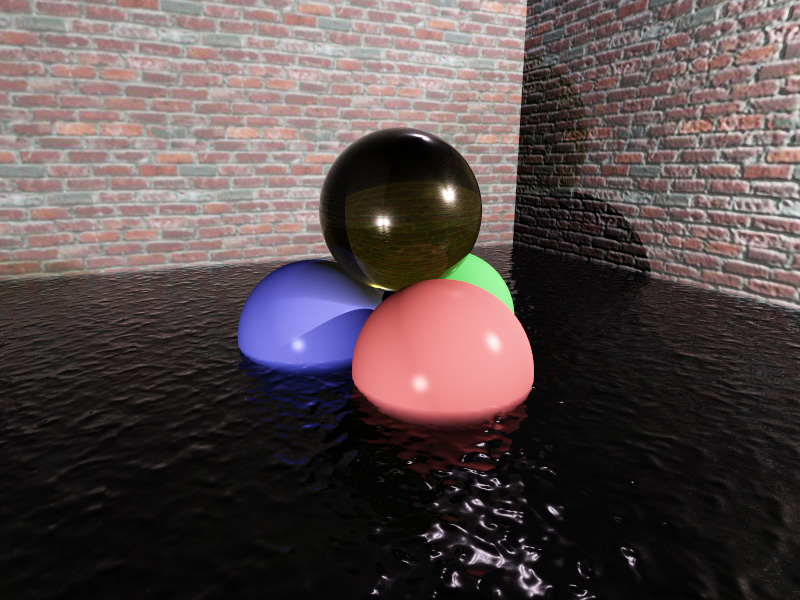 To illustract the effect or Beer’s law, I’ve rendered the same scene with darker glass and water. In particular, notice how the three colored spheres quickly fade in the water. You can see the reflections better in this scene. That’s not because the sphere and the water have become more reflective, but simply because the background on which they’re displayed have become darker.
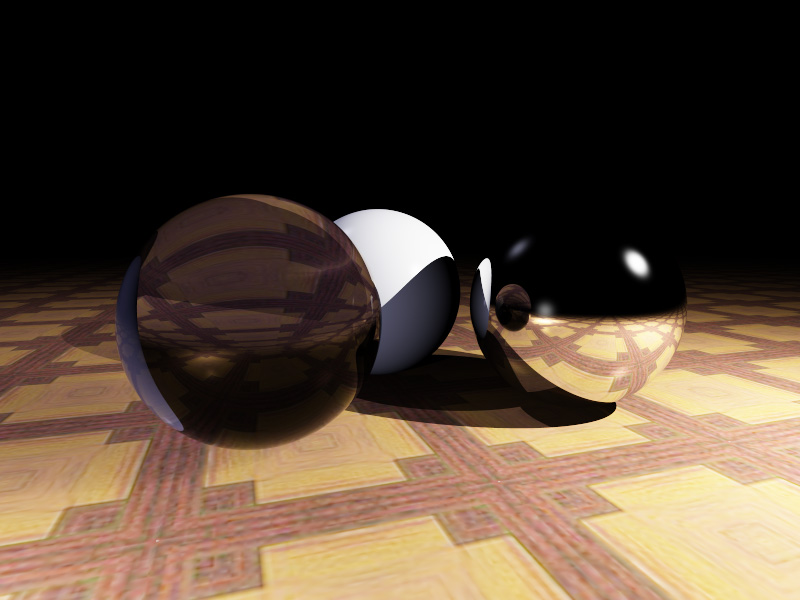 Another illustration of the three effects.